Bring Disney Magic Home: Crafting Enchanting Mickey Rice Krispies Treats
There’s something undeniably magical about Disney, and the joy it brings often extends beyond the theme park gates. For many, a trip to Disney World or Disneyland isn't complete without indulging in their iconic treats. Among the most beloved are the whimsical Mickey Mouse Rice Krispies Treats – a delightful fusion of classic childhood nostalgia and iconic Disney charm. Imagine being able to recreate that enchantment right in your own kitchen! This comprehensive guide will walk you through everything you need to know to make your very own Mickey Rice Krispies Treats, turning a simple dessert into a memorable experience.
The Enduring Charm of Mickey Rice Krispies Treats
Why do these treats hold such a special place in our hearts? It's a blend of familiarity and fantasy. The classic Rice Krispies Treat, with its chewy, sweet, and crispy texture, is a comfort food for generations. Add the unmistakable silhouette of Mickey Mouse, and suddenly, you have a dessert that transcends a simple snack. It becomes a symbol of fun, imagination, and the happiest memories.
Disney Magic at Home
Making mickey rice krispies treats at home is more than just baking; it's an act of bringing a piece of the Disney experience into your daily life. Whether you're celebrating a birthday, hosting a themed party, or simply want to surprise your family with a touch of magic, these treats are a perfect choice. They evoke the joy of Main Street U.S.A. and the delicious aromas of a Disney bakery, all from your own kitchen.
A Treat for All Occasions
These aren't just for Disney fanatics. Their universal appeal makes them ideal for:
- Birthday Parties: A themed dessert that's easy to make and universally loved.
- Holiday Gatherings: A festive and fun addition to any spread.
- School Events: A unique and popular contribution for bake sales or classroom parties.
- Gifts: Packaged beautifully, they make thoughtful, homemade presents.
- Everyday Snacking: Because sometimes, you just need a little magic to brighten your day!
Crafting Your Own Magical Mickey Treats: A Step-by-Step Guide
The beauty of Mickey Mouse Rice Krispies Treats lies in their simplicity. If you've ever made traditional Rice Krispies Treats, you're already halfway there! The "Mickey" twist comes primarily from shaping and decorating.
Essential Ingredients and Tools
Before you begin, gather your essentials:
- Ingredients:
- Butter (unsalted recommended)
- Miniature marshmallows (fresh is best for optimal melt)
- Rice Krispies cereal
- Chocolate melting wafers or candy melts (e.g., Wilton Candy Melts in black, red, yellow, or white)
- Optional: Sprinkles, edible glitter, food coloring for candy melts
- Tools:
- Large saucepan
- 9x13 inch baking pan (or similar size)
- Parchment paper or waxed paper
- Cooking spray (your best friend in this recipe!)
- Spatula or wooden spoon (greased)
- Mickey Mouse cookie cutter (essential for the iconic shape)
- Microwave-safe bowls for melting chocolate
- Optional: Popsicle sticks (for a true Disney park experience)
The Foundation: Perfect Rice Krispies Treats
The base of any great Mickey Rice Krispies Treat is, naturally, a perfectly made Rice Krispies Treat. For a super chewy, never-hard treat, follow these key steps:
- Melt Butter: In a large saucepan over low heat, melt your butter completely. Low heat prevents scorching and ensures a smooth base.
- Add Marshmallows: Stir in your miniature marshmallows. Continue stirring constantly until they are almost entirely melted and smooth. Remove from heat just before they are fully melted; the residual heat will finish the job, preventing overcooking which can lead to hard treats.
- Incorporate Cereal: Quickly add your Rice Krispies cereal to the marshmallow mixture. Using a greased spatula or wooden spoon, gently fold until the cereal is evenly coated.
- Press into Pan: Immediately transfer the mixture to your prepared 9x13 inch baking pan (lined with greased parchment or waxed paper). Here's a crucial tip: do not press down too firmly. Gently pat the mixture into an even layer using your greased spatula or fingers. Over-compacting results in dense, hard treats.
For more detailed guidance on achieving the perfect Rice Krispies Treat base every time, be sure to check out our mickey rice krispies treats - Article 1 for expert tips!
The Mickey Transformation: Cutting and Shaping
This is where the magic truly happens, but timing is critical!
- Act Fast While Warm: The absolute key to cutting shapes from Rice Krispies Treats is to do it while they are still warm and pliable. If they cool too much, they'll become brittle and crumbly, making clean cuts impossible.
- Prepare Your Cutter: Lightly spray your Mickey Mouse cookie cutter with cooking spray. This prevents sticking and ensures a clean release.
- Cut Your Shapes: Press the cookie cutter firmly into the warm Rice Krispies Treat slab. Once the shape is cut, gently lift the cutter with the treat still inside. Use your fingers to press the cereal down firmly inside the cutter to ensure it holds its shape, then carefully push the treat out onto a sheet of waxed paper.
- Handle the Scraps: Don't discard the leftover bits! Gather the scraps and gently squish them together into the remaining uncut portions of the treats in the pan. Re-press lightly, and continue cutting new Mickey shapes. Repeat this process until you have very few scraps left, maximizing your yield. The amount of waste will depend on your cookie cutter size and your squishing efficiency!
The Artistic Touch: Dipping and Decorating
Once your Mickey shapes are cut, it's time for the fun part: making them look like the iconic character!
- Melt Your Chocolate/Candy Melts: Place your chosen melting wafers or candy melts (black is standard for Mickey's head) in a microwave-safe bowl. Heat in 30-second intervals, stirring well after each, until smooth and fully melted. Alternatively, use a double boiler for a more controlled melt. Avoid using regular chocolate chips for dipping, as they often don't melt smoothly or harden correctly for coating. If you're looking for extra shine and a perfect set, consider adding a tiny bit of paramount crystals to your melting chocolate – they prevent sugar and fat bloom and improve consistency.
- Insert Popsicle Sticks (Optional): If you want to make them into "Mickey on a stick" treats, gently insert a popsicle stick into the bottom of each Mickey head before dipping.
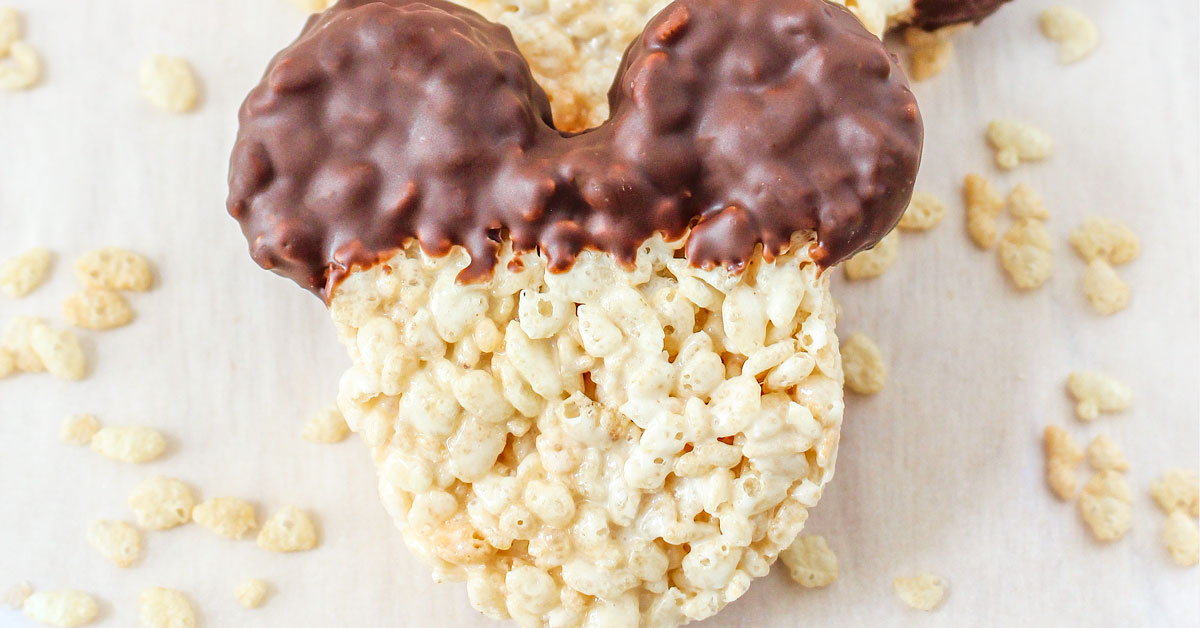
- Dip and Coat: Hold your Mickey treat by the non-dipped end (or the popsicle stick). Dip about two-thirds to three-quarters of the Mickey head into the melted chocolate, covering the "ears" and most of the face. Gently tap off any excess chocolate.
- Decorate: While the chocolate is still wet, add sprinkles, or use contrasting colored candy melts (like red for Mickey's shorts or yellow for buttons) to draw details. Place the decorated treats on waxed paper to set completely.
For even more creative and unique decorating ideas, including how to make vibrant colors and intricate designs, head over to our mickey rice krispies treats - Article 2!
Pro Tips for Flawless Mickey Rice Krispies Treats
Mastering these treats is easy with a few insider tips:
- Don't Rush the Melt, But Rush the Cut: Melt marshmallows slowly to prevent hardening, but work quickly to cut shapes before the treats cool and become brittle.
- Grease Everything: A little cooking spray on your pan, spatula, fingers, and especially your cookie cutter, will save you a lot of sticky frustration.
- Quality Chocolate Matters: Invest in good quality candy melts or chocolate melting wafers specifically designed for coating. They melt smoother, coat better, and set beautifully, giving your treats that professional, Disney-park finish.
- Storage Secrets: Store your mickey rice krispies treats in an airtight container at room temperature for up to 3-4 days for optimal freshness. If refrigerated, they can last up to a week, but the texture might become firmer. Bring them to room temperature before serving for the best chewiness.
- Customize Your Magic: Don't stop at just black! Experiment with different colored candy melts (red, yellow, white) to create different Mickey outfits or themed treats. You can also add a drop of food-grade extract (like vanilla or almond) to your melted marshmallows for an extra flavor kick.
Conclusion
Making mickey rice krispies treats is a delightful way to infuse a little extra joy and magic into your day. Whether you're a seasoned baker or a kitchen novice, this Disney copycat recipe is incredibly approachable and rewarding. From the satisfying crunch of the cereal to the smooth, sweet chocolate coating, each bite is a taste of nostalgia and fantasy. So, gather your ingredients, unleash your inner chef, and prepare to create some truly enchanting treats that will bring smiles and a sprinkle of Disney magic to everyone who tries them. Happy baking!
